Genlocker is designed so that setup takes under 20 minutes. You create vaults for different purposes and set when each one opens — open access now, on a date you choose, or only after an official death certificate is verified. Your family gets everything they need at the right moment. Not a moment before.
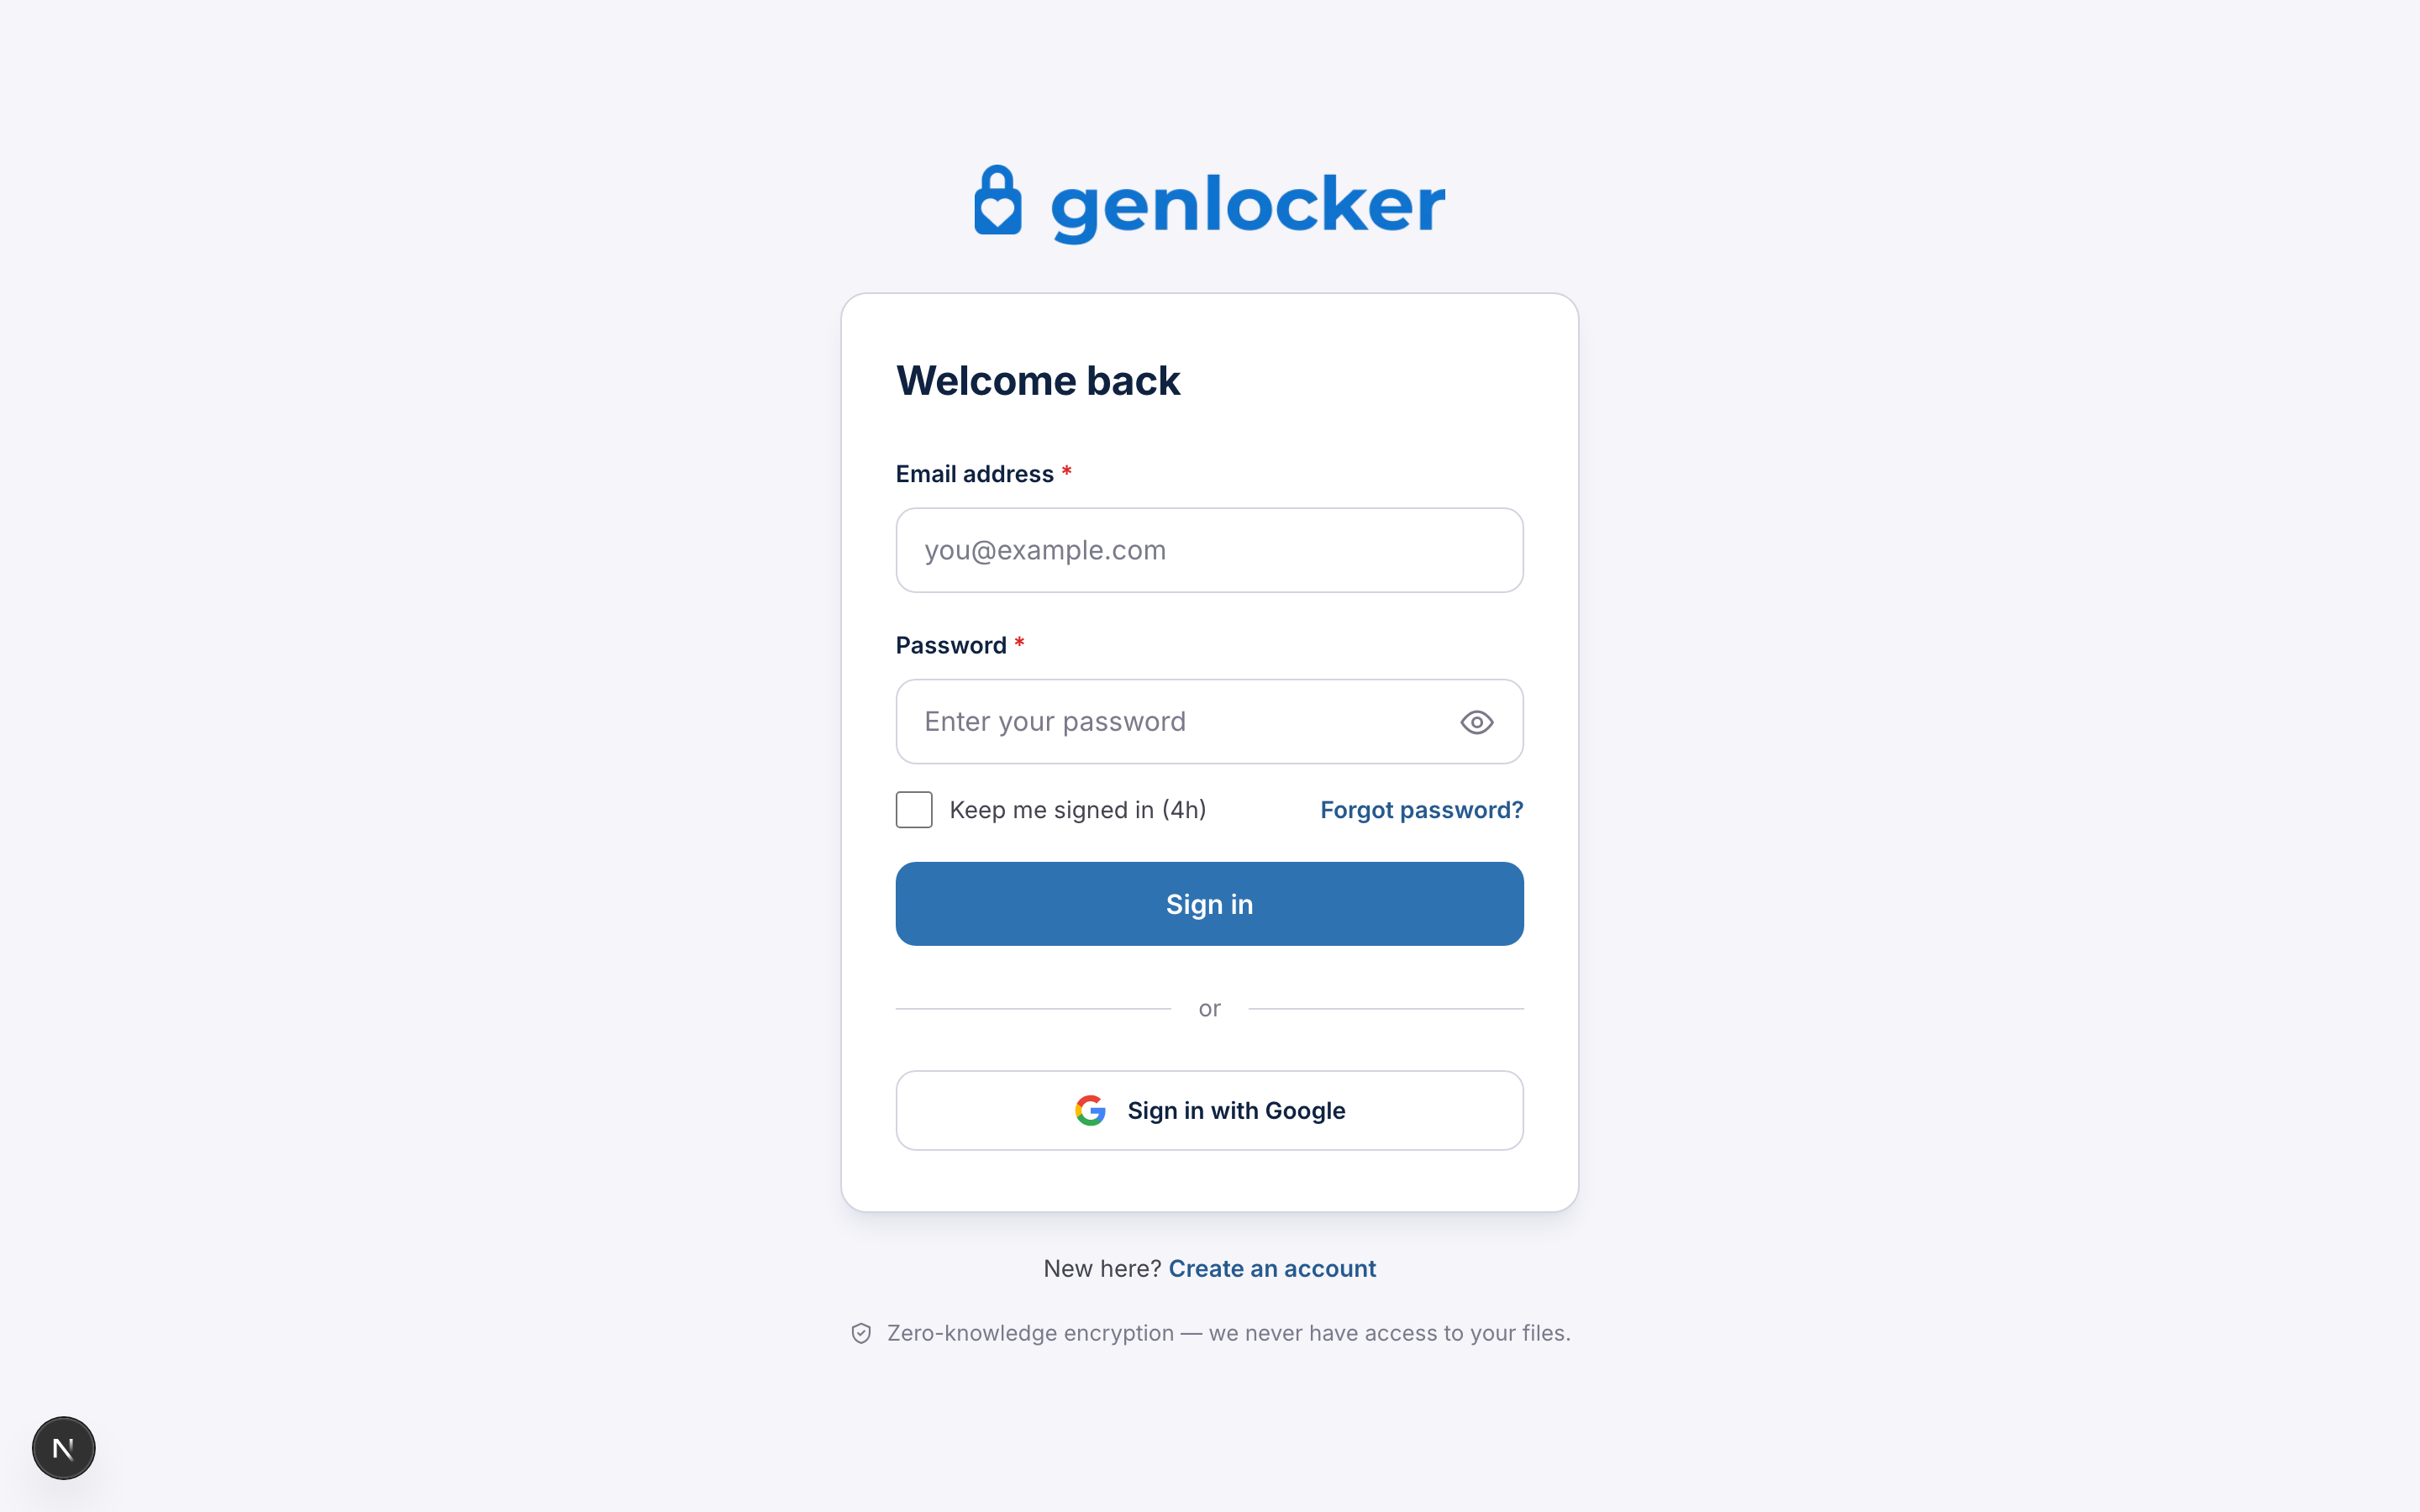
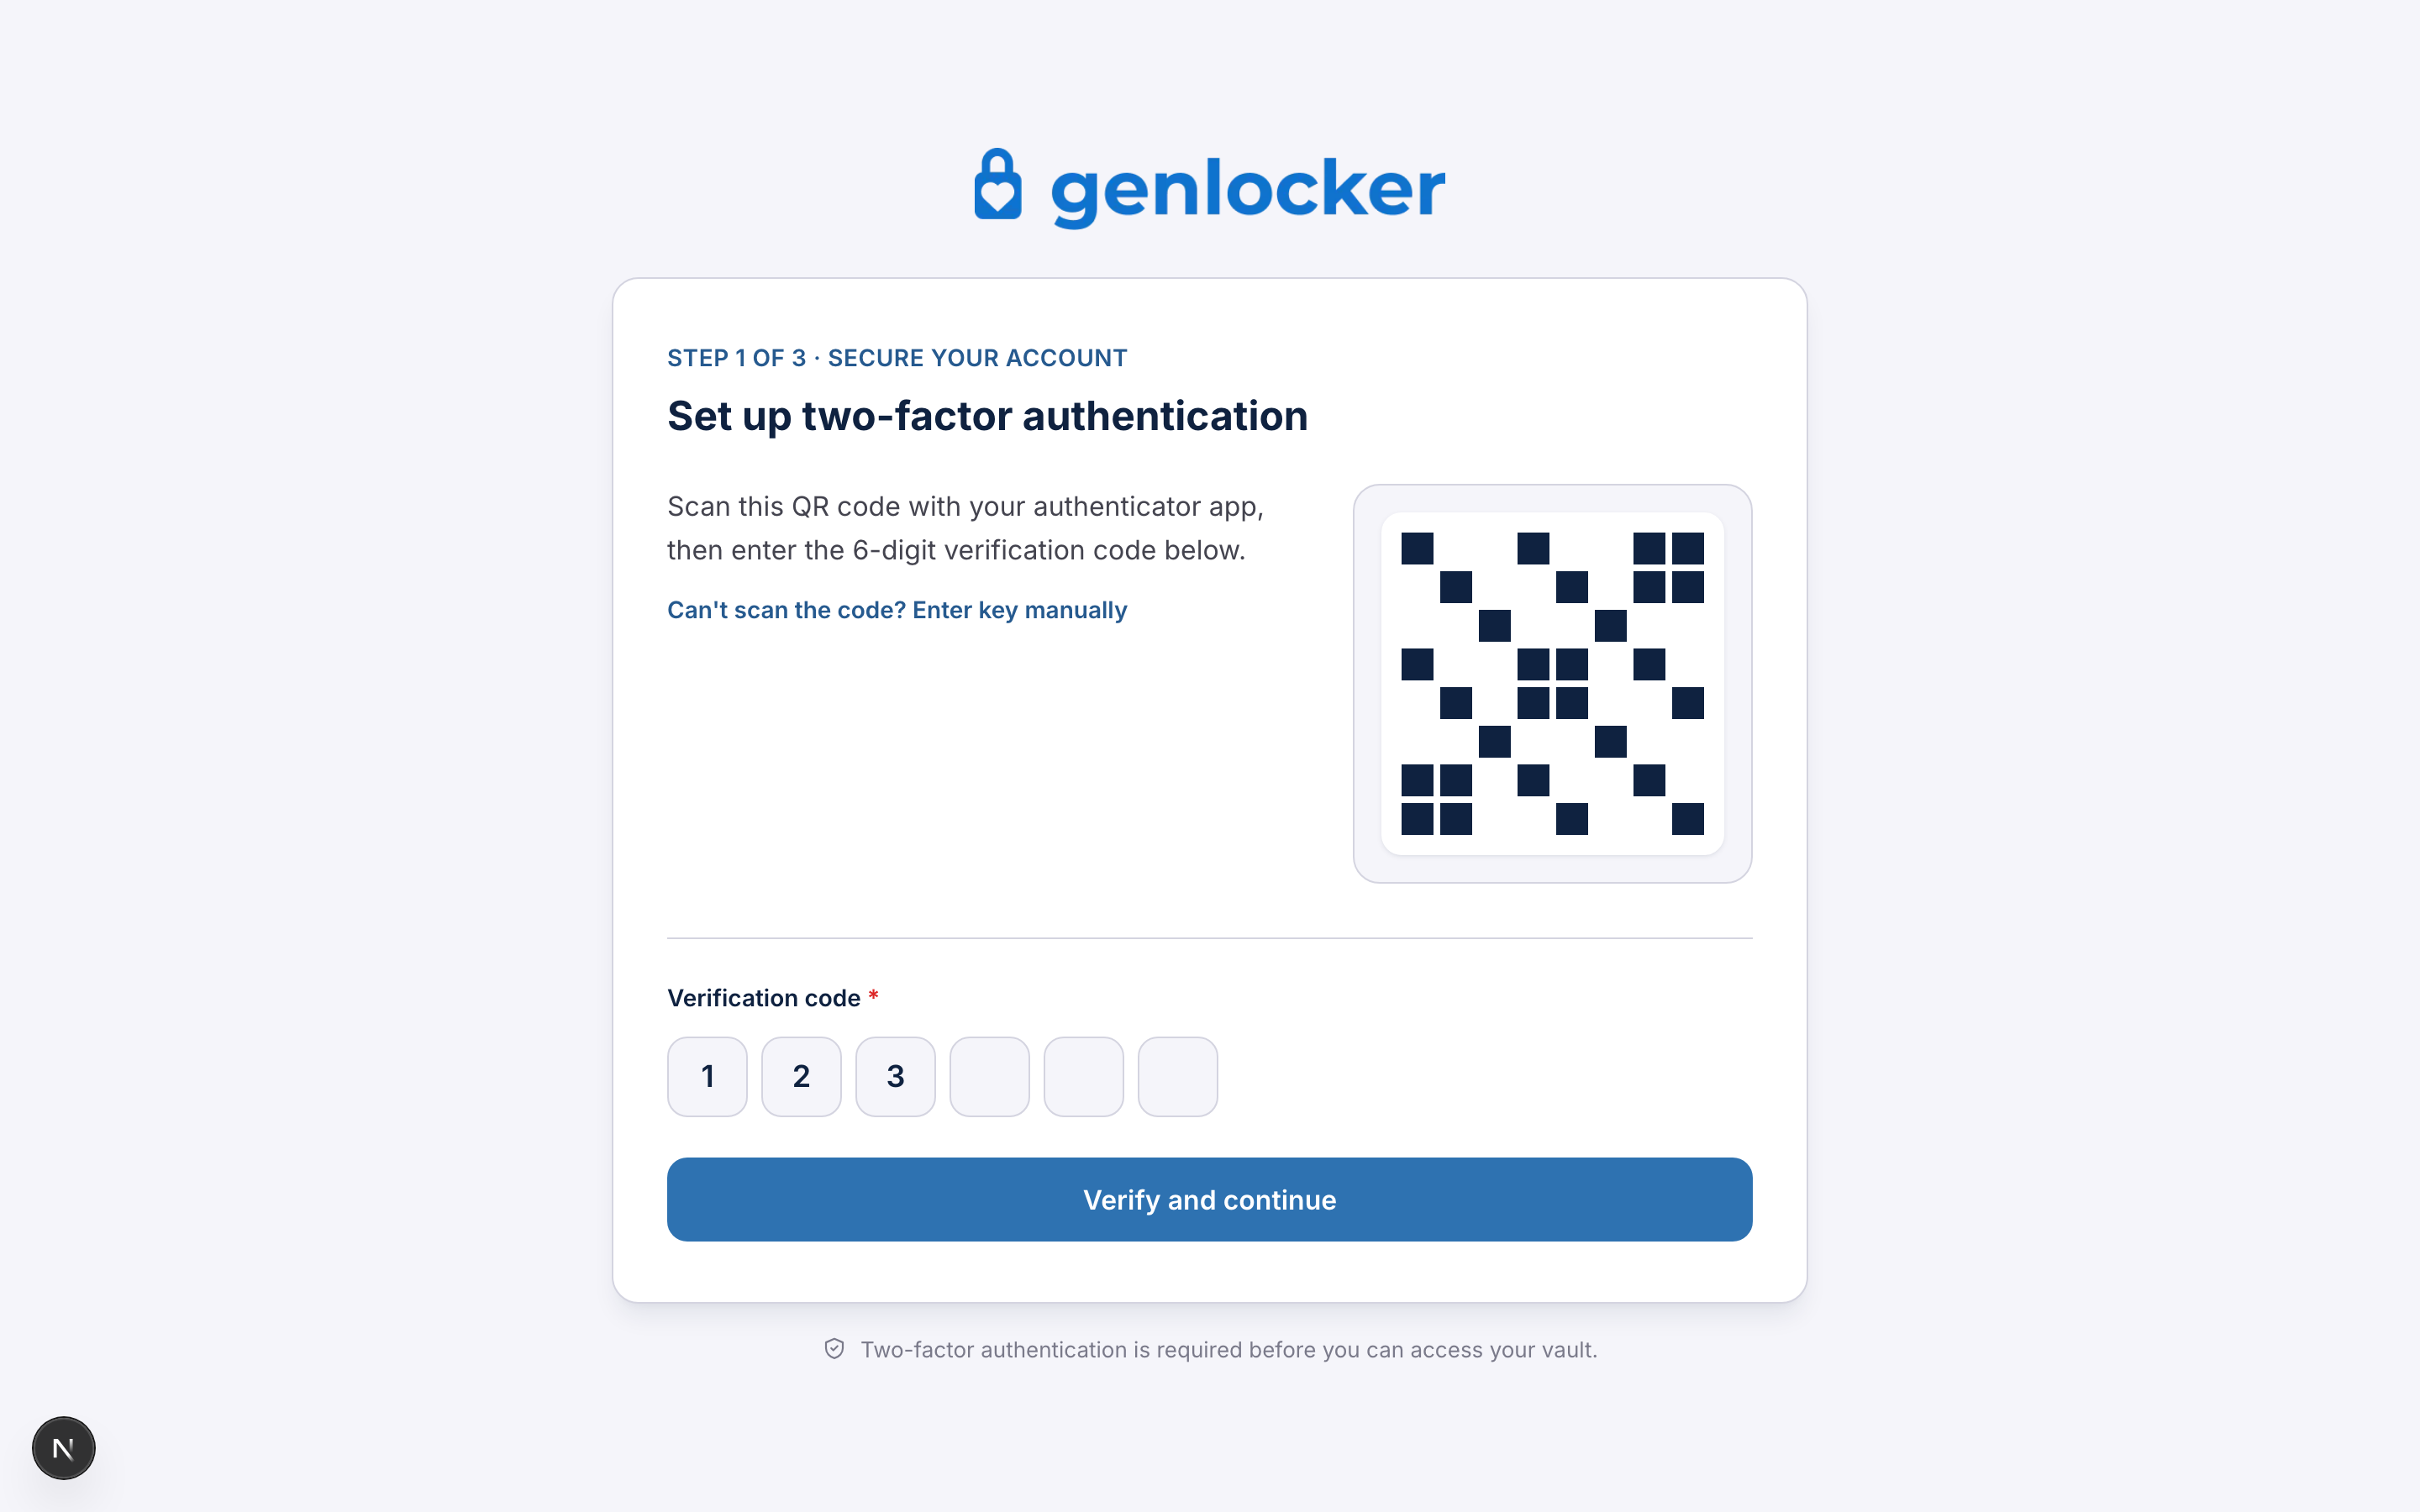
Sign up with your email and a strong master password. Genlocker guides you through a secure onboarding flow that takes under 5 minutes. Your vault is immediately ready to receive documents.
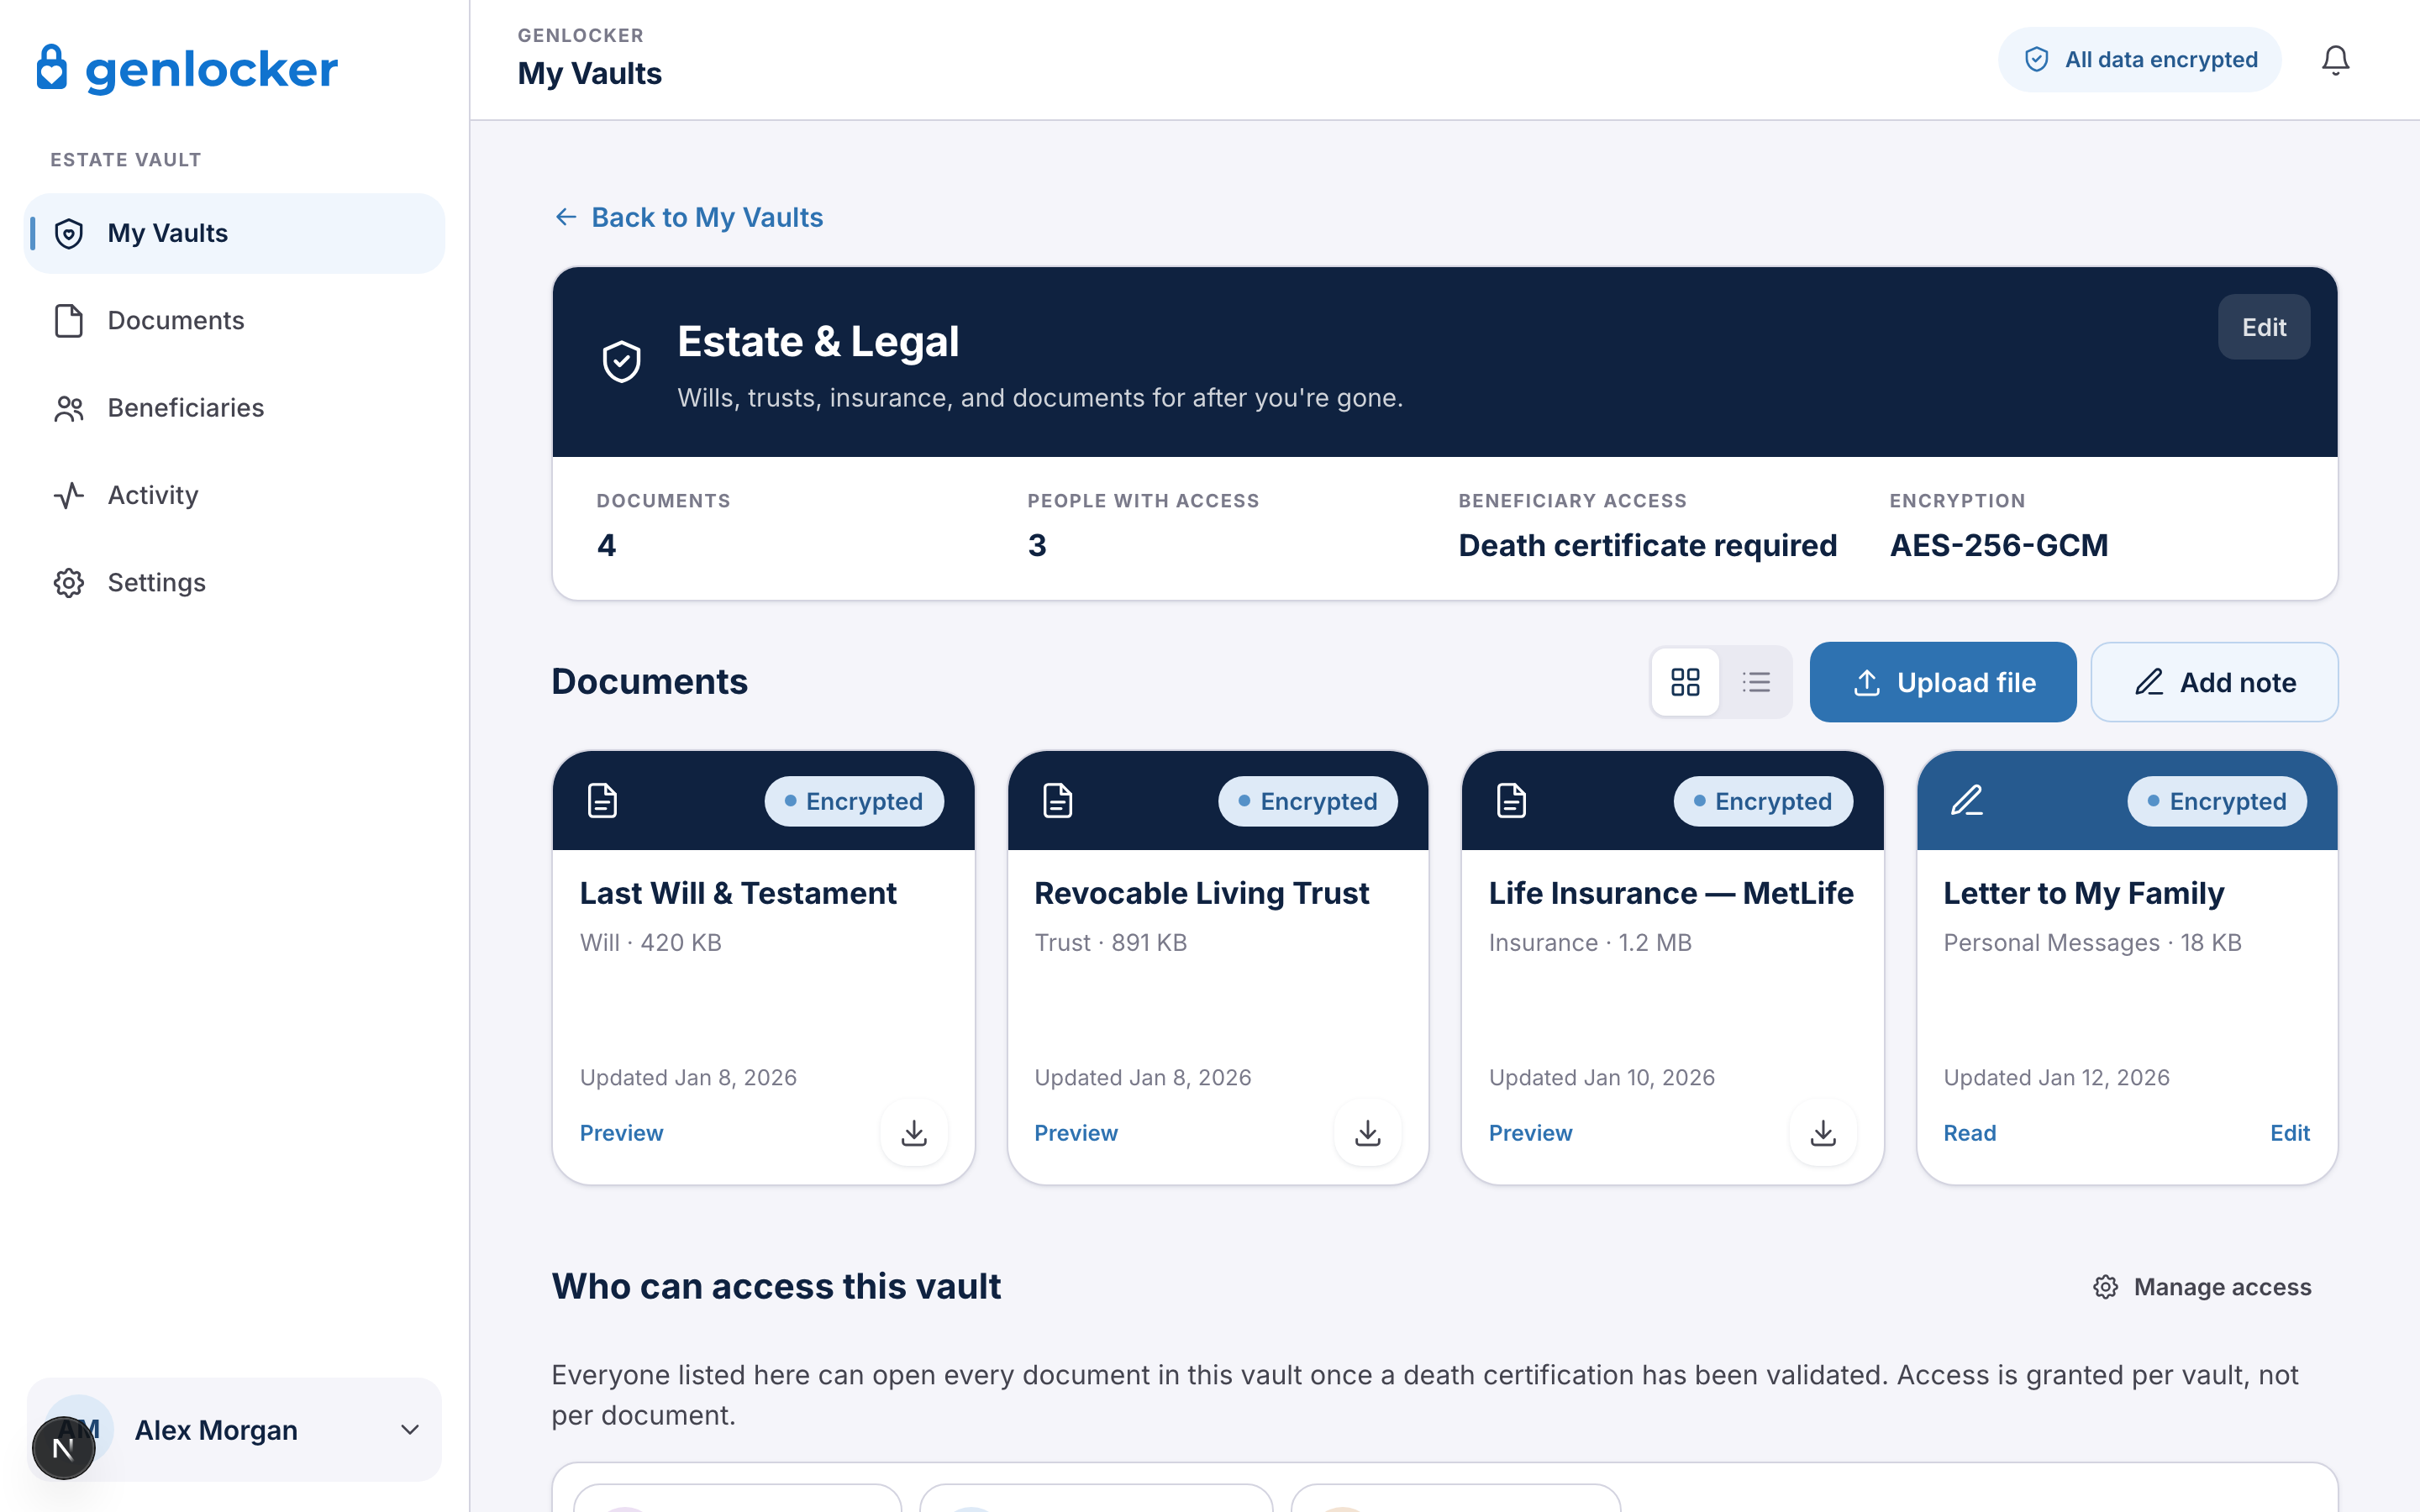
Upload any file type: PDFs of legal documents, photos of physical papers, a text note with your password manager key, or a video message for your family. Everything is encrypted on your device before it ever touches our servers.
Invite the people who matter — adult children, a spouse, your estate attorney, a financial advisor. Each person creates their own Genlocker account and receives a partial cryptographic key unique to them. You assign them to vaults and set when each vault opens.
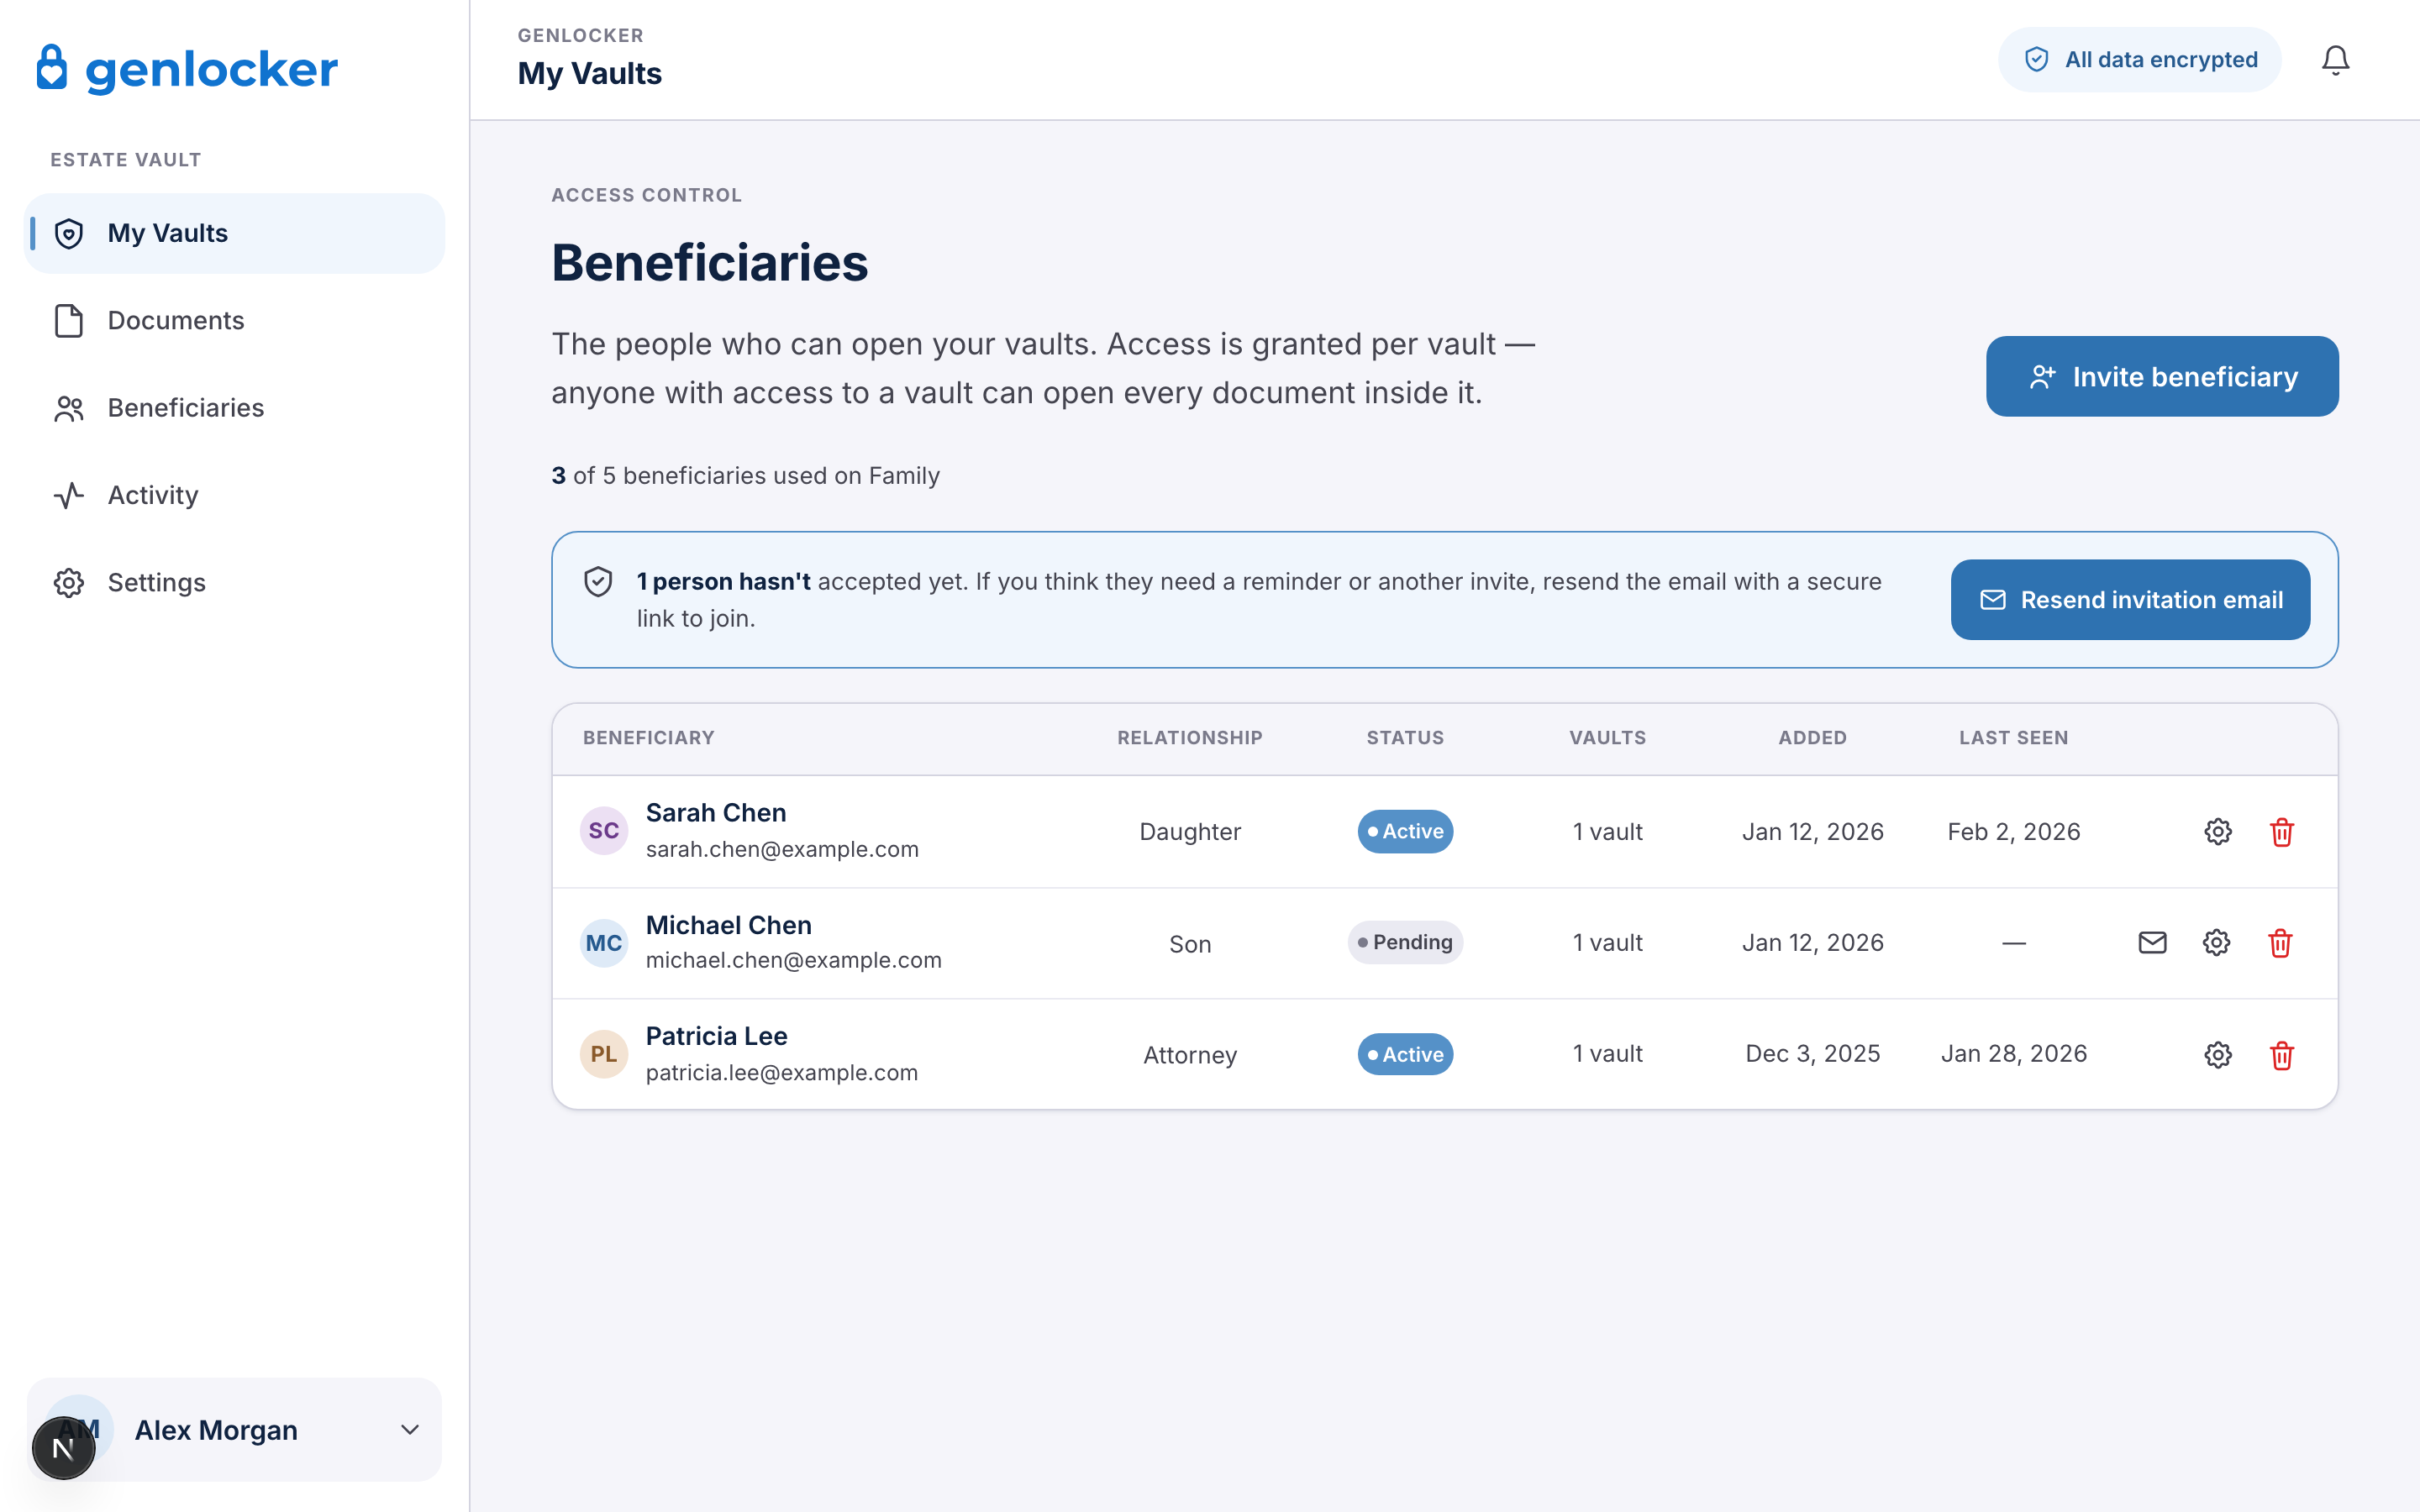
Most people use a mix — an open-access vault for things beneficiaries need today, a scheduled vault for timed handoffs, and a death-verified vault for everything that should stay private until you're gone. You set the release rule for each vault.
Beneficiaries can access the vault right away — ideal for shared financial info, attorney access, or anything they need while you're still here.
Pick a future date when the vault unlocks automatically — for milestone handoffs, timed letters, or anything you want released on a specific day.
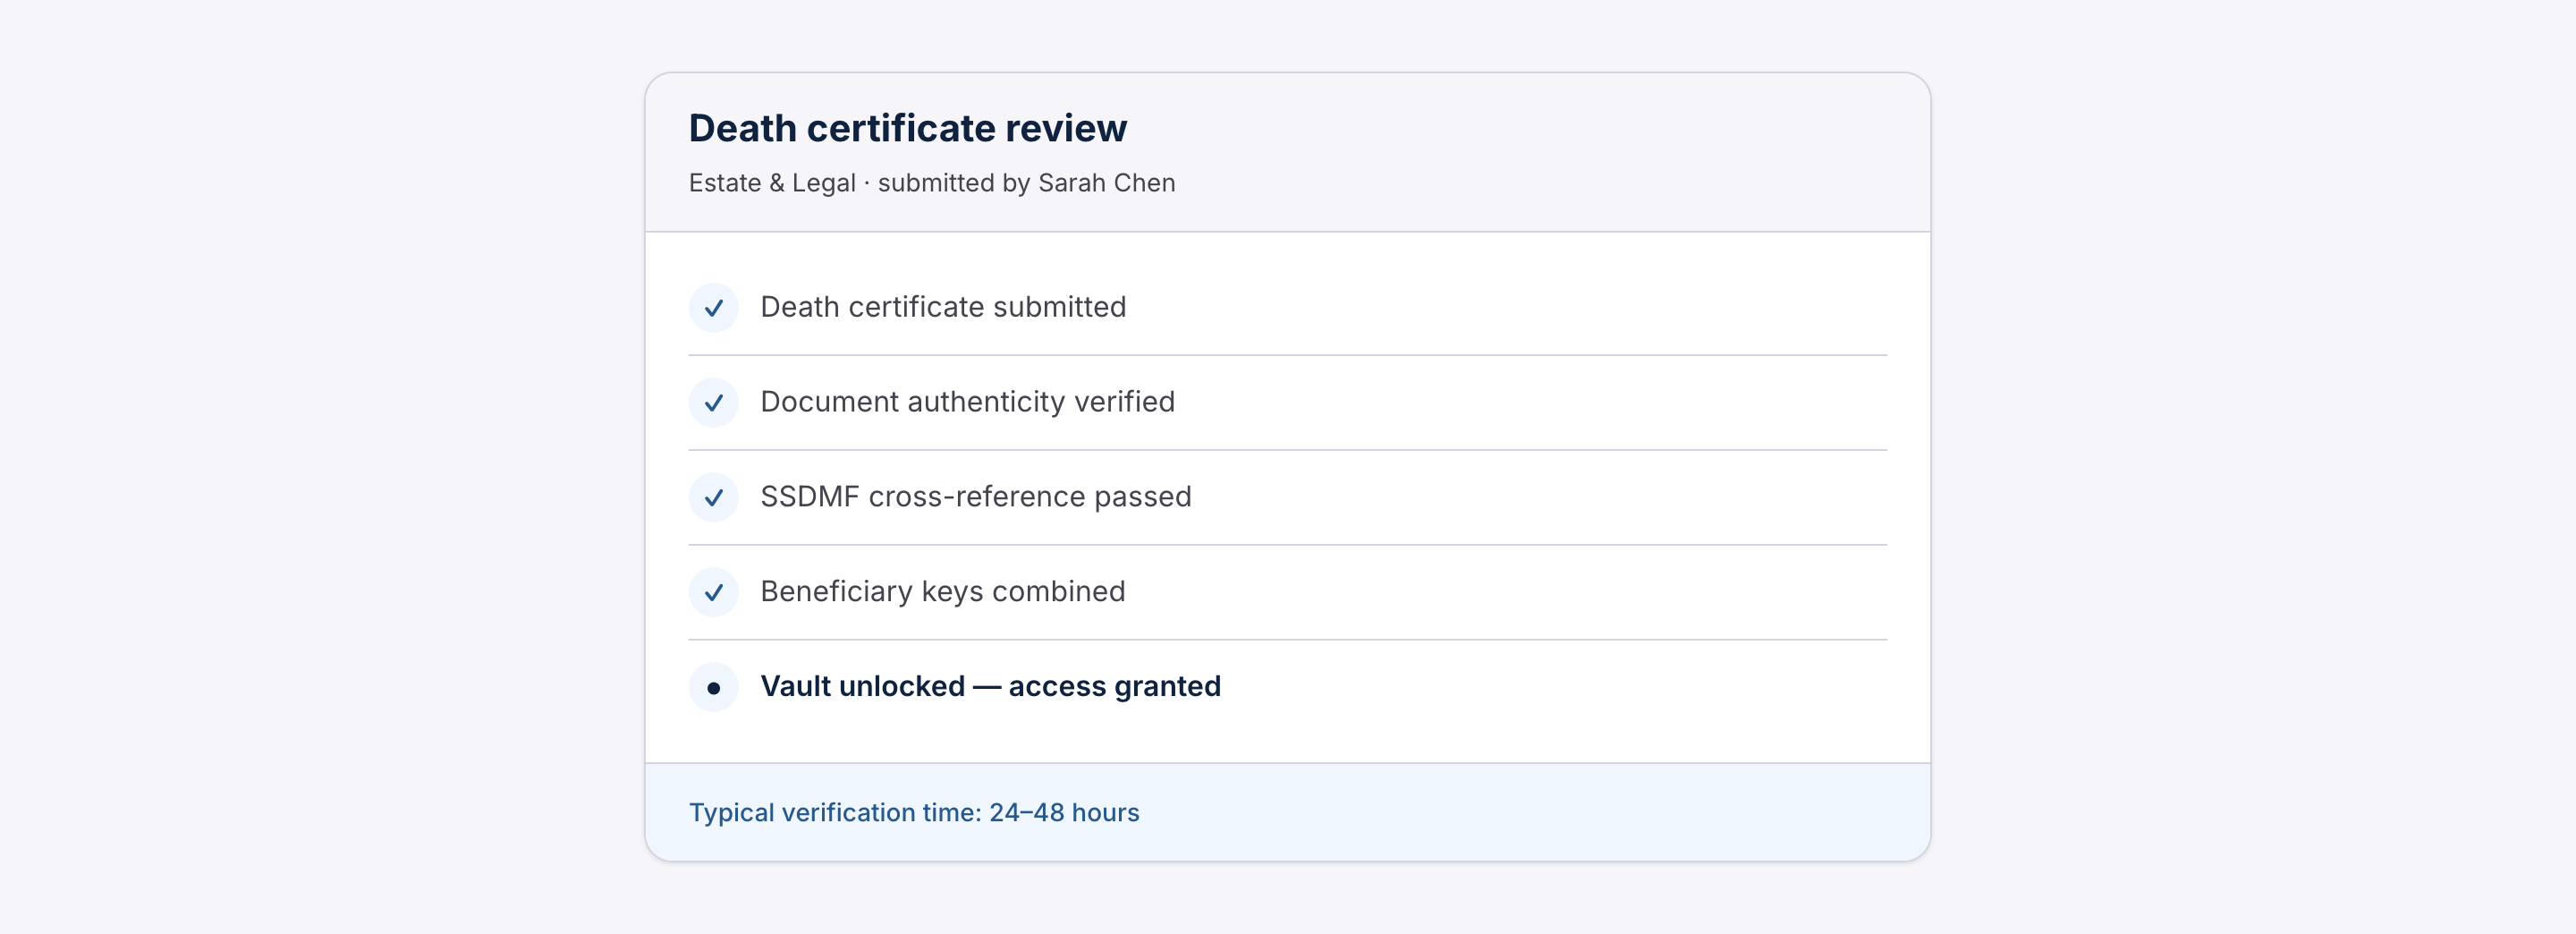
The vault stays locked until a beneficiary submits an official death certificate and our team verifies it. This is what makes Genlocker different — proof, not an email timeout.
For vaults set to death-verified release, access stays locked while you're alive — no exceptions. When you pass away, a beneficiary initiates the unlock process by submitting a certified copy of the official death certificate. Our team reviews it — typically within 24–48 hours. Once verified, the system combines the platform key with beneficiary keys and the vault opens.